
Facade Decor — Installation Guidelines
Until recently, facade decoration was considered a luxury. Today, facade decor is affordable for almost everyone and remains highly popular. Installing decorative polystyrene elements does not require advanced professional skills, which means that, if desired, you can improve the appearance of a building even on your own.
Surface Preparation
The facade surface must meet the following requirements:
✔ strength;
✔ cleanliness;
✔ dryness;
✔ smooth surface.
Before installation, the facade should be cleaned of dust, dirt, construction residue, mold, and other contaminants. The surface must then be leveled and primed using plaster or a specialized adhesive.
Facade Decor Installation Rules
First, all vertical and horizontal lines must be marked using a level or plumb line.
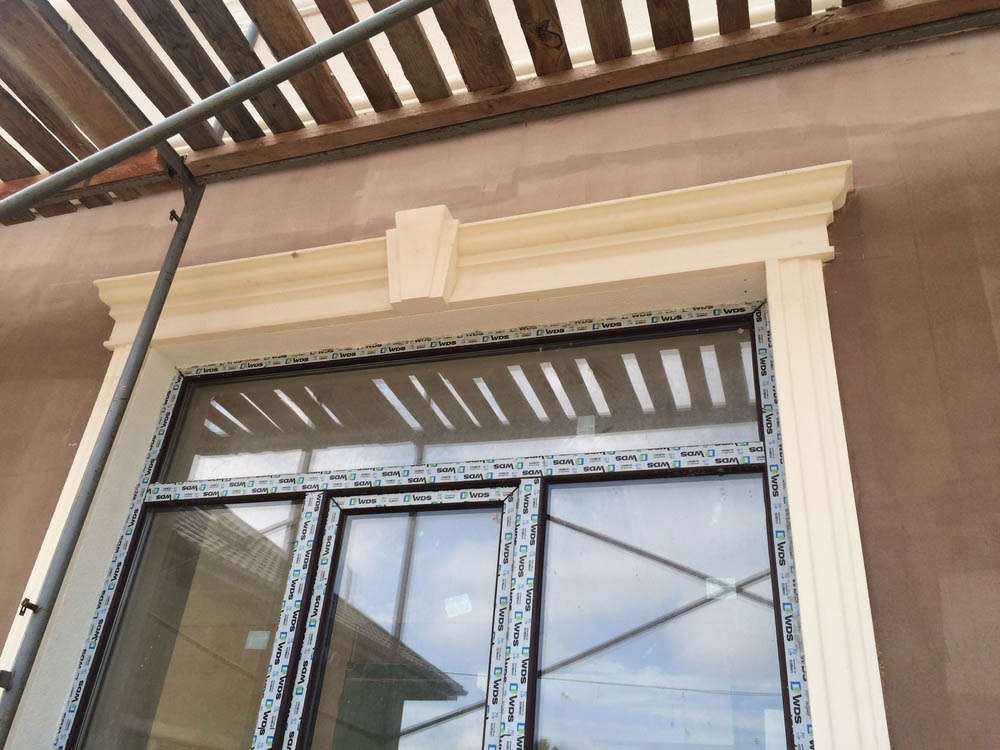
Merolith S95 adhesive is used for installing facade decor elements. It is applied to the back side of the profile using a notched trowel. Polyurethane adhesive foam may also be used.
After applying the adhesive, the installation method should be selected depending on the unevenness of the facade.
If facade unevenness is between 3 and 15 mm
Merolith S95 adhesive is applied in evenly spaced spots up to 10 cm in diameter. The spacing between the spots should be 6–8 cm.
When the element is pressed against the wall, the adhesive should evenly fill the entire surface area.
The same principle applies when using adhesive foam.
If surface unevenness does not exceed 3 mm
Merolith S95 adhesive should be applied as a continuous layer over the entire surface of the decorative element without gaps near the edges.
A notched trowel with 10–12 mm teeth is recommended.
Adhesive foam is applied in a wave pattern across the entire surface and additionally in continuous strips along the edges.
After applying the adhesive, the decorative element is pressed firmly against the wall. Proper installation should provide at least 85% adhesive contact with the surface.
The gap between adjoining elements should not exceed 3 mm.
Additional Fastening
Final fixation is performed using facade dowels recessed 3–4 mm into the surface.
Fresh Merolith S95 adhesive residue should be removed immediately with a spatula. Excess adhesive foam should only be removed after complete curing.
After 2–3 days, the joints between the facade and decorative elements should be primed with Merolith H15 and filled using Merolith R1 repair compound.
Joint and Fastener Hole Treatment
To minimize the risk of cracking and provide elasticity at the joints, Merolith R1 repair compound is used.
All seams and gaps should be carefully filled with this compound. Before puttying, the surfaces must be treated with Merolith H15 primer.
During installation, joint gaps should not exceed 3 mm.
Larger gaps should be filled with polyurethane adhesive foam. After complete curing, the seam should be grooved to a depth of approximately 3 mm around the perimeter.
Merolith R1 repair compound is then applied with a spatula or gun to the edges of the elements and contact areas with the facade.
Excess material is removed with a spatula and reused for filling joints.
Due to its high elasticity, the compound creates a flexible shock-absorbing layer that helps prevent cracks caused by building settlement or physical stress.
Under normal climate conditions (+20°C and 60% humidity), the seams should be sanded and painted after 1–2 days.
Final Finishing of Facade Decor
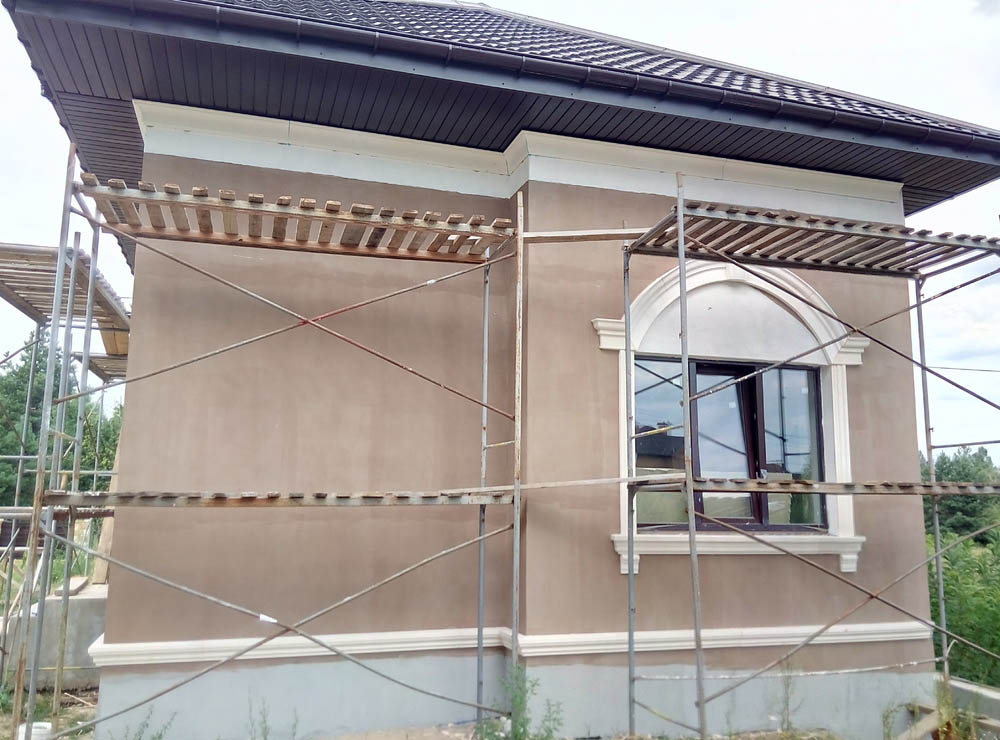
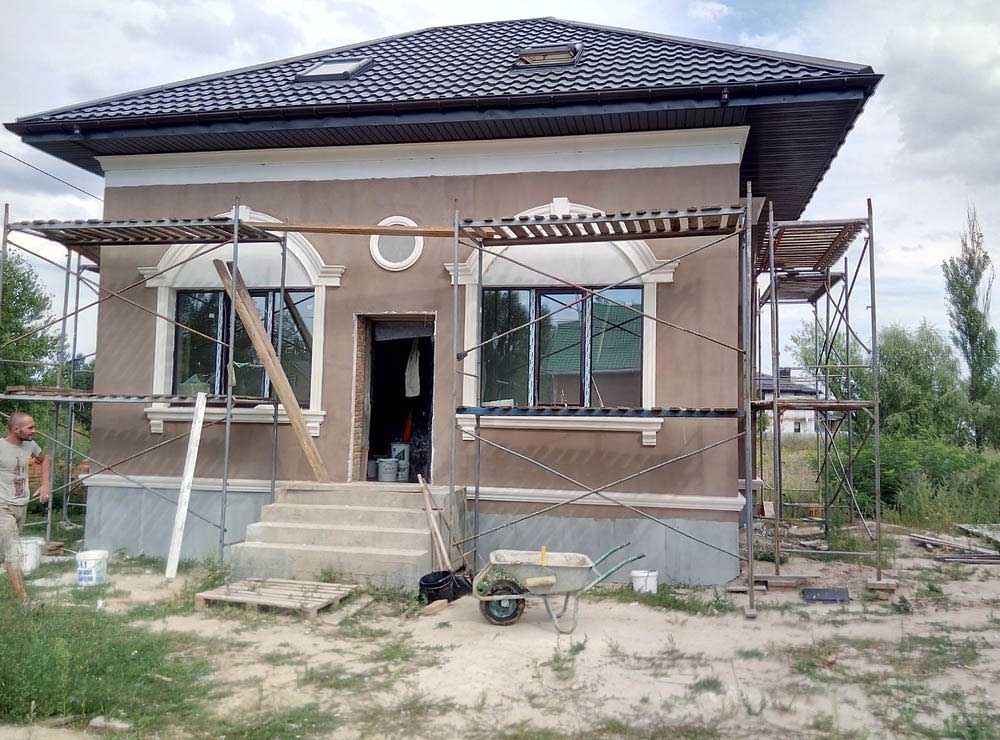
After installation, joint sealing, and complete drying of materials, decorative elements should be treated with Merolith H10 primer and painted with facade acrylic paint.
To improve durability, it is recommended to install metal or plastic drip edges for water drainage.
A detailed installation guide can be downloaded here.

Our Production Capabilities
We have been manufacturing facade decor for about 15 years. Honestly, we can no longer remember exactly when the first elements were created 😊 But the last few years have been difficult — to say the least. Despite everything, we continue to work, manufacture facade decor, and fulfill orders. No matter how difficult things may […]
How Is Decor with Cement Coating Manufactured?
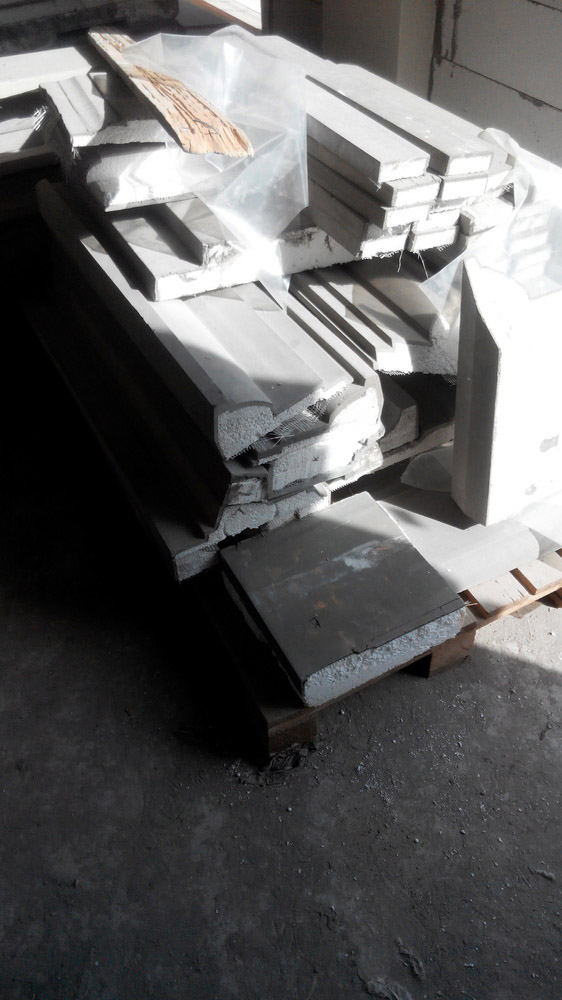
In most cases, the simplest cement adhesive is used (preferably facade-grade), diluted with acrylic primer. To make it sound more professional, it is often referred to as a plasticizer. Therefore, if you see a gray-colored decorative element and are told that it has an acrylic coating — to put it mildly, this is not entirely […]
Facade Molding and Decor: The Art of Enhancing Modern Buildings (and Why It Matters)
Facade molding and decorative elements have always played an important role in architecture. They give buildings individuality, emphasize their style, and make their appearance more expressive. Today, facade decor remains popular for both public and private buildings. It is used in various architectural styles — from classic to minimalist designs. In this article, we will […]